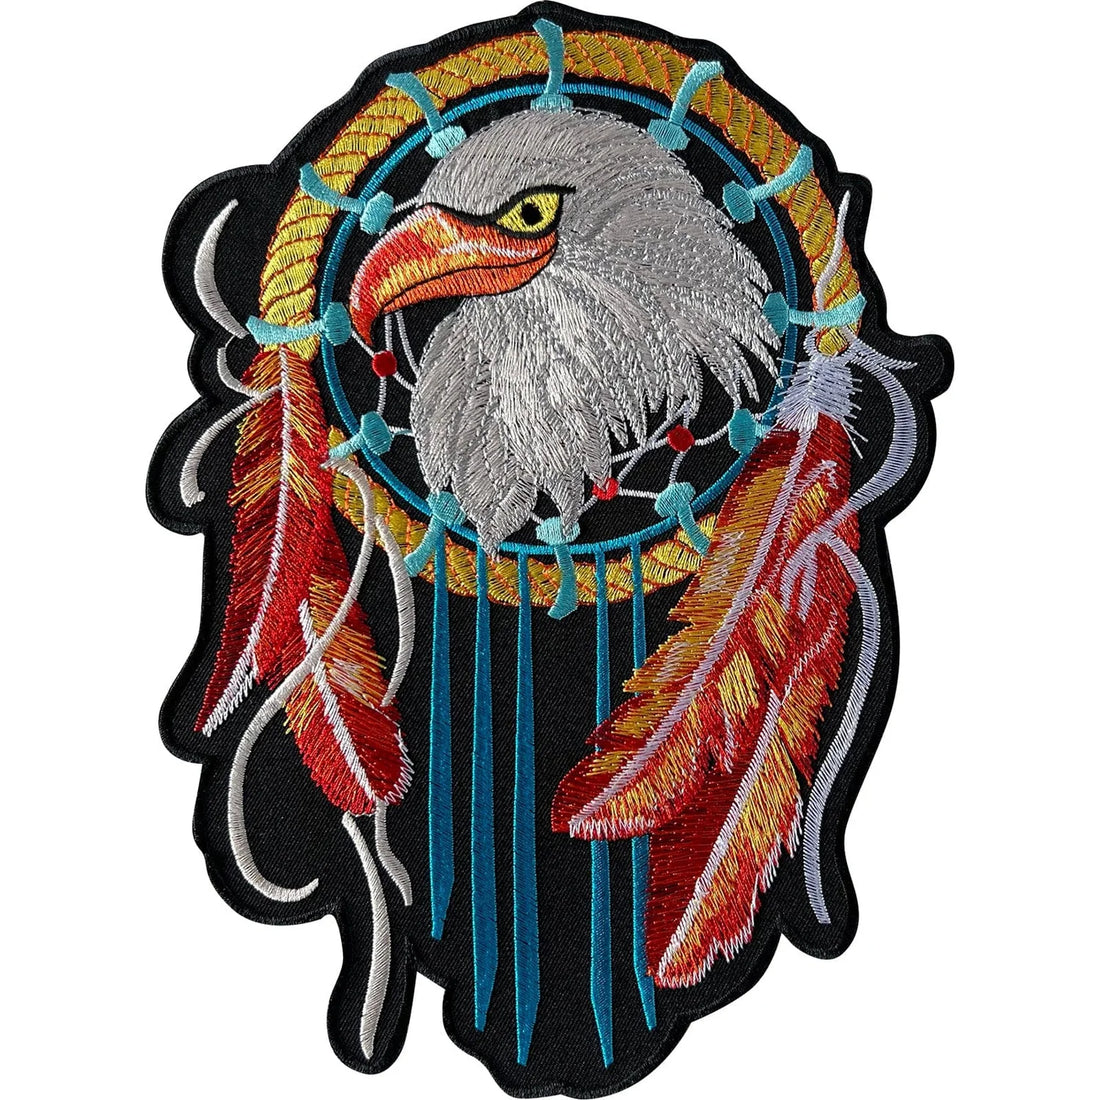
Crafting Memories: A Step-by-Step Guide to Creating Your Own Embroidered Patches
Share
Introduction:
Embroidered patches have been a timeless form of self-expression and customization. Whether you want to add a personal touch to your favorite denim jacket or create a unique gift for a friend, making your own embroidered patches can be a rewarding and creative experience. In this step-by-step guide, we'll walk you through the process of crafting your own embroidered patches, turning ordinary fabric into wearable pieces of art.
Materials You'll Need:
- Fabric: Choose a sturdy fabric for the base of your patches. Denim, canvas, or twill work well.
- Embroidery Thread: Select thread colors that complement your design. DMC embroidery floss is a popular choice.
- Embroidery Hoop: A hoop will help keep your fabric taut while stitching.
- Needles: Use embroidery needles with a sharp point for precision.
- Scissors: Sharp scissors for cutting fabric and thread.
- Backing Material: Felt or another fabric for the back of the patch.
- Heat-Activated Adhesive: This will help secure your patch onto clothing.
- Design Template: Draw or print your design on paper to use as a reference.
Step 1: Design Your Patch
Start by sketching your patch design on a piece of paper. Keep it simple for your first attempt. Once you're comfortable with the process, you can experiment with more intricate designs. Remember that the smaller the patch, the more limited the details should be.
Step 2: Prepare Your Fabric
Cut your chosen fabric into a square or rectangle, leaving a bit of extra space around the edges for stitching. Place the fabric into the embroidery hoop, ensuring it's stretched tight.
Step 3: Transfer the Design
Transfer your design onto the fabric using a fabric marker or pencil. Alternatively, you can use an iron-on transfer pen to trace your design onto the fabric.
Step 4: Embroider Your Design
Thread your needle with the chosen embroidery floss color and start stitching. Use basic stitches like the satin stitch, running stitch, or backstitch to outline and fill in your design. Experiment with different stitches to add texture and detail.
Step 5: Finishing Touches
Once you've completed your embroidery, carefully remove the fabric from the hoop. Trim any excess fabric around the edges of your design.
Step 6: Backing Your Patch
Cut a piece of backing material (felt or another fabric) in the same shape and size as your embroidered design. Use a hot glue gun or fabric glue to attach the backing to the back of your patch, covering the stitches.
Step 7: Attach the Patch
Apply a heat-activated adhesive to the back of your patch. Follow the instructions on the adhesive packaging to attach the patch to your desired garment.
Conclusion:
Creating your own embroidered patches is a delightful and personalized way to add a touch of flair to your wardrobe or share handmade gifts with friends. Experiment with different designs, colors, and stitching techniques to unleash your creativity and bring your unique vision to life. Happy crafting!
